How LYNX Works

LYNX software compares the current assembly, identifies Variations to Find Mistakes, and generates reports

Better Than Measurement

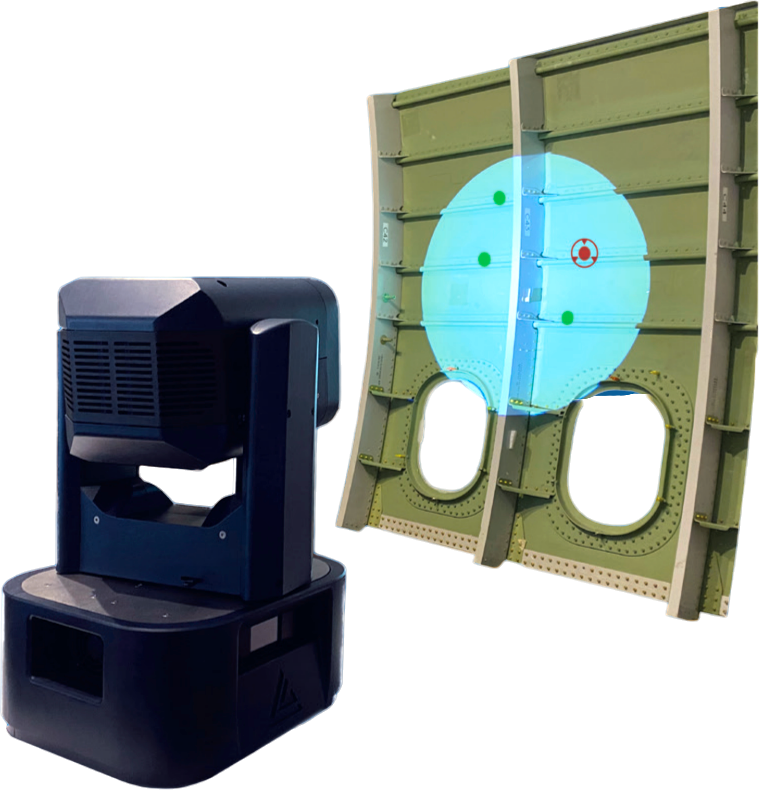
The purpose of LYNX is to verify that everything is installed and no components are missing. See the example below, where the fastener is mounted in the wrong position.
01

Analyze
Components

Will work up to 40ft away, analyzing 1,500 components per hour

02

Spot the
Mistake

03

Highlight Issue,
Generate Report

LYNX indicates where the issue is located. An image will be displayed and documented in reports

Flexible Mounting and 360 degree view

LYNX systems have been designed so the camera and lighting system can be rotated 360 degrees around the vertical axis with additional rotation on the horizontal axis.  The result is an extremely wide view angle. LYNX can be mounted in any orientation.  Typically they are overhead, above a work area.  But in some situations they may be mounted to the side or underneath an assembly.

Data
Collection

The part being checked is brought into a reference position. Multiple LYNX units can work together to speed throughput and allow both sides of a part to be checked at the same time.

Faster, Easy to Understand Analysis

After a series of images is collected on a reference part, areas of interest are highlighted in the software. As the LYNX software compares the current assembly to the reference, any variations are automatically identified.

Traceability and Documentation

Reports are automatically generated and preserved that fully document the condition of your assembly when it was built. Reports are customizable to include the items you wish to document.

Let's Discuss
Your Application

Scroll to Top