digital gap gauges are 8-10x more productive than manual measurement
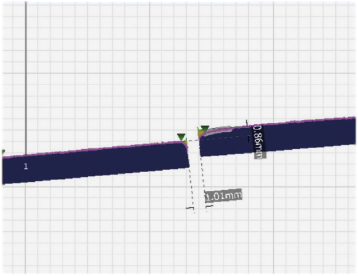
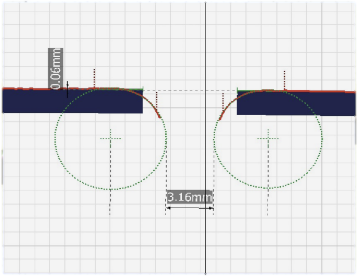
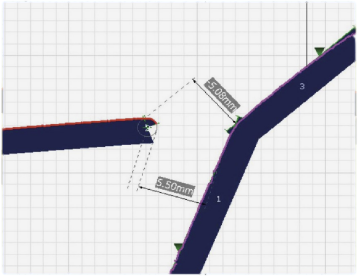
Improve Measurement Speed. Gap and Step measurement results are shown on the screen with an easy to understand diagram within seconds.
Get fast results when checking gap and step, radius, and flush/mismatch. The GapGun is used on the production floor to collect accurate and repeatable measurements.

Improve Measurement Speed. Gap and Step measurement results are shown on the screen with an easy to understand diagram within seconds.
Obtain repeatable measurements. Measurement algorithms are preset for each feature ensuring that data is always evaluated the same way, increasing repeatability.
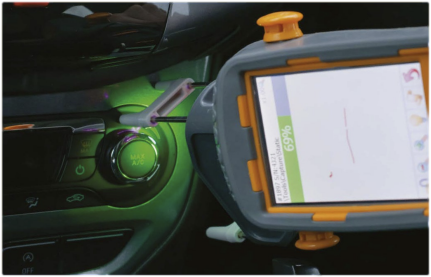
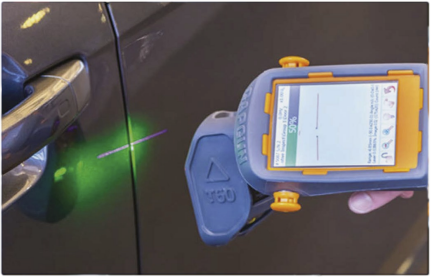
With the gap measurement device, the operator is able to easily point and measure, as the screen displays the precise measurement images and results. A preloaded check plan guides the operator to each location with diagrams for assistance.
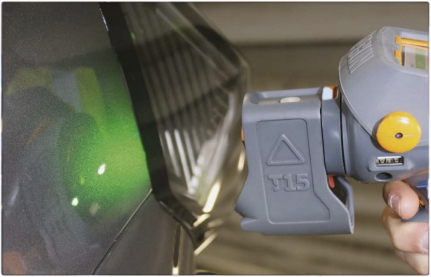
Measures painted surfaces, glass, or reflectors. Green light indicates you are ready to measure. With a pull of the trigger, the laser gap measurement sensor will utilize the violet laser line, enabling it to accurately capture and measure the shape of the gap, regardless of the surface color or reflectivity.
Many users of other digital gap measurement systems have decided to switch to GapGun. Learn more about the superior performance of the GapGun Violet laser.
Violet laser line allows measurement of all materials. It measures transparent, composite and shiny surfaces as well as reflectors.
For facilities that do not allow Wi-Fi or the computer is far away, the GapGun is able to download the results through the Docking Station. Otherwise, the GapGun can forward the results immediately to the network or your computer.
The interactive display steps the operator through the program while showing results.
If you want to use standoffs for faster positioning, not a problem. If measuring a soft surface, you can use the system without standoffs.
Head to Body Extension Cable allows the operator to reach high, low, or limited access area.
Rotating Head allows the operator to see the screen without interfering with measurement process.