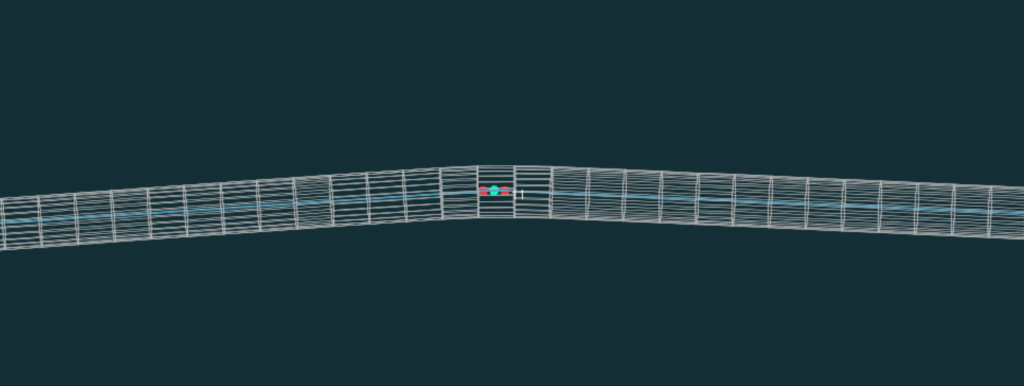
Accurex receives many questions from customers who notice variation in tube bending measurement results for Bending Elements (Length-Rotation-Angle) and Bending Points (XYZ intersection points.) These are usually questions such as “Why am I seeing variation of LRA values when I measure this part multiple times?” or “Why do the XYZ points keep moving around on the measurement of the same part?”
Before addressing those questions, we usually ask: “What does the part geometry look like for the LRA or XYZ points that are varying? Is there a shallow bend of just a few degrees? Are there any short straights in the area where you are seeing variation? Is this variation occurring for elements that are related to a deep bend? “
The answer is almost always yes to one or more of the above questions. This article describes the reason for tube measurement variation with shallow bends and how BendingStudio helps to deal with that challenge.
Shallow Bends
Every measurement system has some level of uncertainty associated with its method of measurement. Read this article for discussion about impact of uncertainty on tube measurement and the importance of using tools with uncertainty as low as practical. Shallow bends in a tube tend to exaggerate the effect of measurement uncertainty.
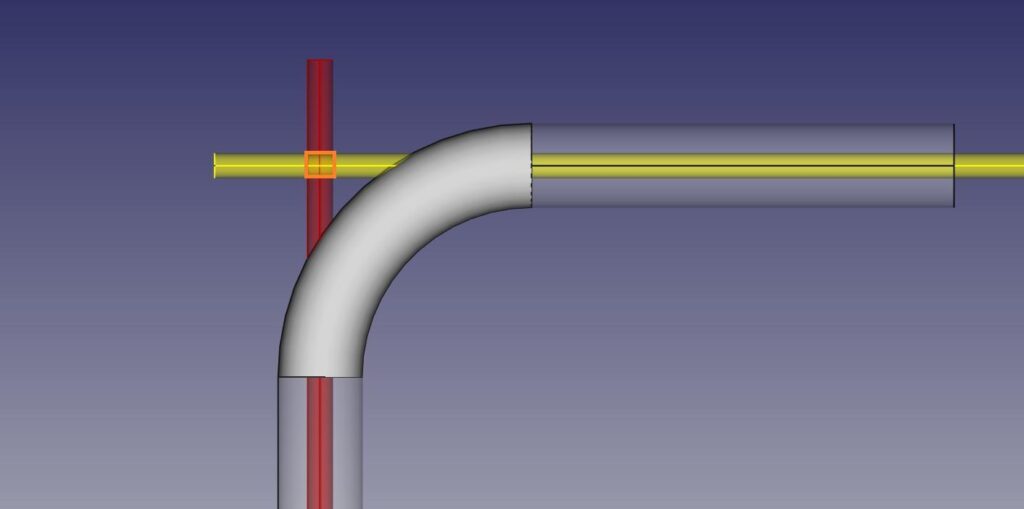
BendingStudio software uses data from TubeInspect or Absolute Arm scanner to determine the shape of the actual tube centerline, and then calculates the bending points (XYZ) and bending elements (LRA) for the measured tube. In the images below, the uncertainty of centerline calculation is illustrated by the red and yellow cylinders. When calculating the intersection point between straights before and after a bend, the calculated point will exist somewhere at the intersection of the two uncertainty cylinders. The potential zone for the calculated intersection point is outlined in orange for a 90 degree bend.
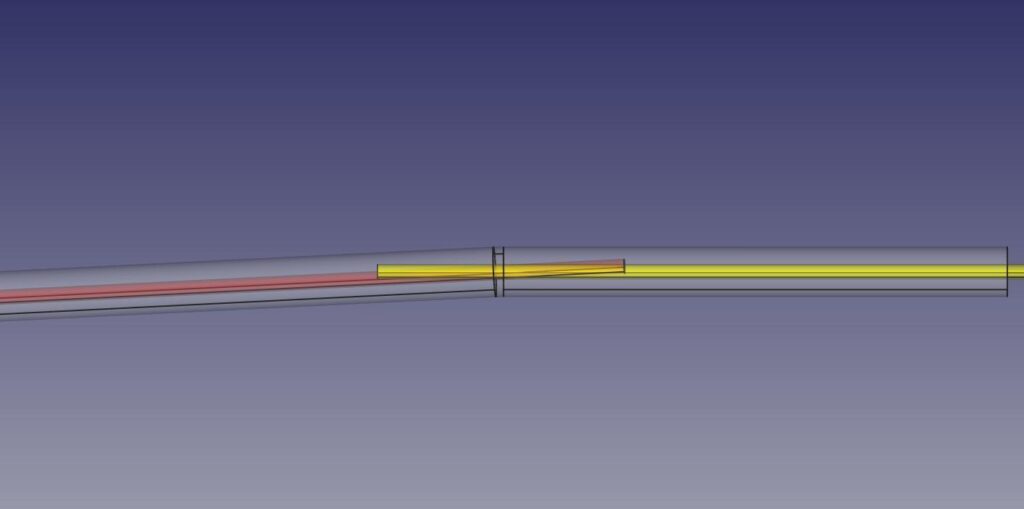
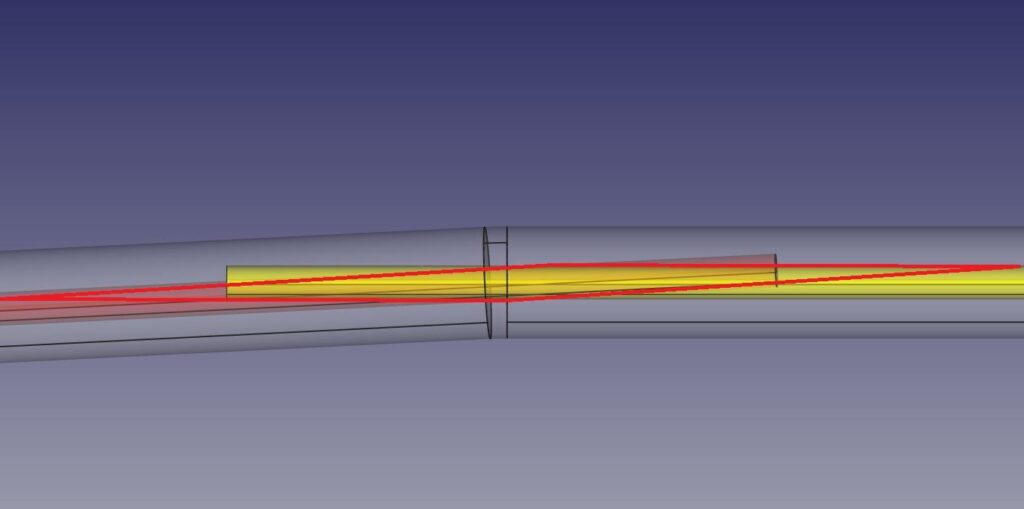
When calculating the intersection points for shallow bends, the potential mathematical solution for the intersection tends to stretch out along the tube length. This is illustrated by the intersection zone outlined in red in the image below.
XYZ Intersection Points – Bending Points
Because the intersection uncertainty zone stretches out, the calculated intersection point has the potential to move around in that zone. Small changes in calculated angle of the centerline can affect where the intersection point sits along the tube. Because the bend is so shallow, the position of that calculated point along the tube axis can vary significantly.
LRA – Bending Elements
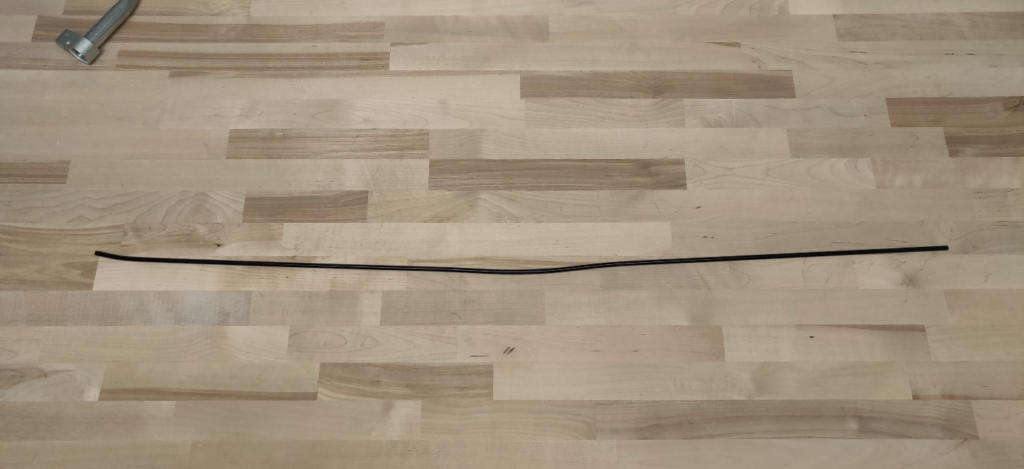
With shallow bends, the arc length of the bend is very short. Bends in a real tube are not as crisp and clearly defined as their theoretical digital counterparts due to material springback and potential deformation. With such a short arc and real-world imperfections, the delineation between where the straight ends and the bend begins is unclear and can vary, sometimes substantially. The tube below has several shallow bends. How can the transition from straight to bend be consistently detected for such geometry?
Good news
The good news is that XYZ points and tangent points where a tube transitions from straight to bend are merely theoretical values. While the susceptibility to tangent and XYZ point location variation is heightened for shallow bends due to the subtle change, the impact of that variation on centerline shape shrinks for shallow bends. In other words, the locations of those theoretical points are not reliable indicators of whether or not the actual fits within its profile envelope or its intended application.
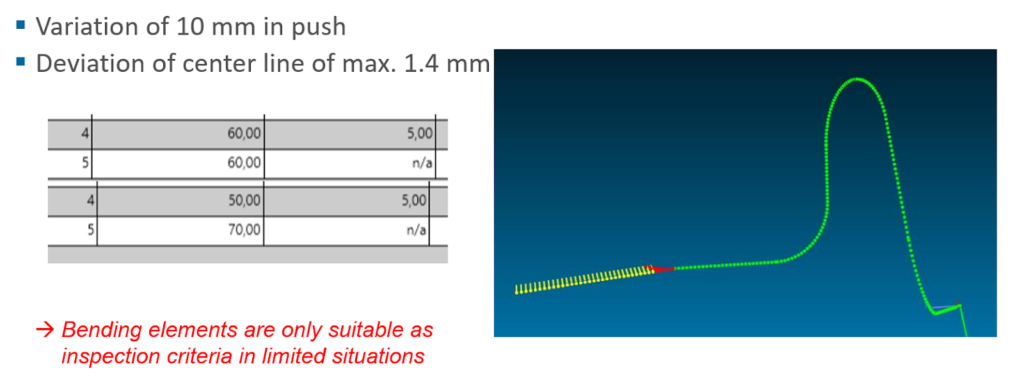
Variation in the length of the straight – where the tangent point exactly sits for every bend – occurs along the axis of the tube. If there is variation in the tangent point one way or the other, the impact on the actual tube centerline is often negligible. Consider the example below – moving a tangent point along the tube by 10mm cause only 1.4mm deviation between nominal and actual centerlines.
The same is true for an XYZ point that floats back and forth along the shallow bend.
Sheath Deviation
Even when the calculated LRA or XYZ show variation for repeat measurements of the same tube with shallow bends, the sheath deviation evaluation of actual to nominal part will be repeatable. For reasons described in this related article, Accurex recommends using sheath tolerance inspection to assess whether or not a tube requires corrections.
Stabilizing Corrections with Bending Element Adjustment
BendingStudio does use the calculated LRA values to determine required corrections to apply on a CNC bender. Therefore, when a sheath tolerance inspection shows that a part program requires correction to produce the correct geometry tube, variation of LRA becomes important. BendingStudio has a capability called Bending Element Adjustment that allows users to override calculation of some elements surrounding shallow bends to avoid corrections that may otherwise oscillate back and forth.
In summary, shallow bends in tubes are notoriously challenging to measure repeatably. Even using a reliable measurement system like TubeInspect, measurements of LRA and XYZ intersection points may show unacceptably high variation. This is really a mathematical limit that becomes evident in measurement. Fortunately, BendingStudio software can accurately measure true centerline shape to evaluate whether or not the tube is the proper shape and will fit its intended location using a Sheath Tolerance inspection. For cases where tube correction is required, the Bending Element Adjustment capability can limit variation of calculated corrections so manufactures can confidently produce parts within tolerance.

