Importance of Reliable Measurement for Tube Bending
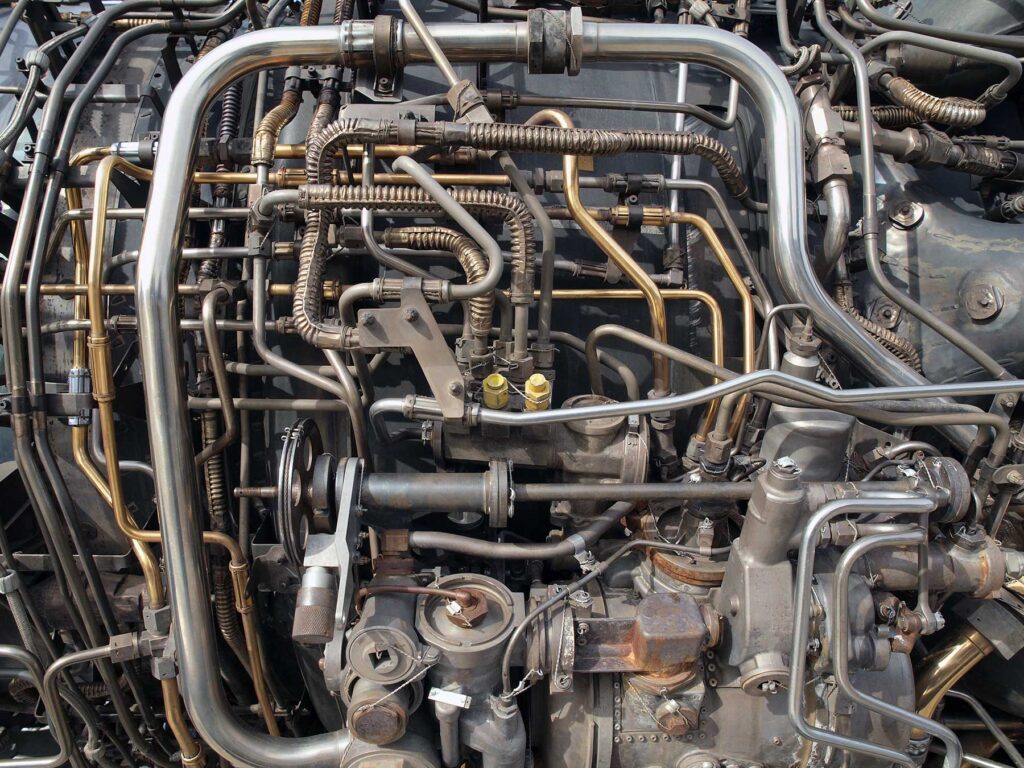
Manufacturers of formed tubular products often have to meet stringent requirements for tube shape to ensure fit and function on aircraft, automobiles, heavy trucks, construction equipment, agriculture, jet engines, recreational vehicles, etc. Finding a reliable method for tube bending measurement has long been challenging for manufacturers of formed tubes and wires because these products are uniquely challenging to measure. Traditional, proven methods of measurement, such as CMMs, struggle to measure tubular products. See our other article for information about the different approaches to tube gauging. This article addresses the importance of minimizing measurement uncertainty for tube bending measurement.
Measurement Uncertainty
First, let’s try to explain measurement uncertainty without going down a metrology rabbit hole. For purposes of this article, the word uncertainty can be taken at face value: it simply means a lack of confidence or certainty about something. Measurement uncertainty pertains merely to the confidence one has in a measurement result.
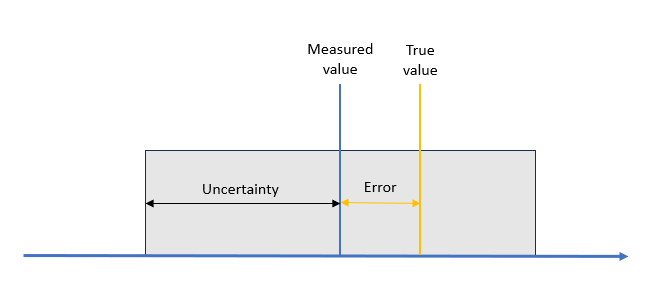
According to the Good Practice Guide No. 11 from the National Physical Laboratory in the UK, “Uncertainty of measurement is the doubt that exists about the result of any measurement. You might think that well-made rulers, clocks, and thermometers should be trustworthy and give the right answers. But for every measurement – even the most careful – there is always a margin of doubt.”
Since uncertainty equals doubt, then a lower measurement uncertainty translates to high confidence in a measurement result. There are several potential sources of measurement uncertainty when inspecting a tube: the measurement technique, the condition of the tube, the operator performing the inspection, etc. Each of these can have its own subcategories.
But with some intentional preparation, data collection, and analysis, it is possible to assess the measurement uncertainty for different measurement processes.
Impact of Measurement Uncertainty
Manufacturers of tubular products use different criteria for inspecting their products. As noted in other articles, Accurex recommends the use of Sheath Tolerance inspection as the best method to assess if a tube has been properly bent. However, manufacturers may be required to use multiple criteria, including Bending Elements (Length-Rotation-Angle), Bending Points (XYZ intersection points), Functional dimensions such as end-to-end or angles between certain sections of the tube, and others. Measurement uncertainty affects inspection results for all of these types of criteria.
As described above, every measurement process has some level of uncertainty. There is no perfect or absolute measurement system. Picture a tube with its centerline, as shown by the thin red line in the image below.
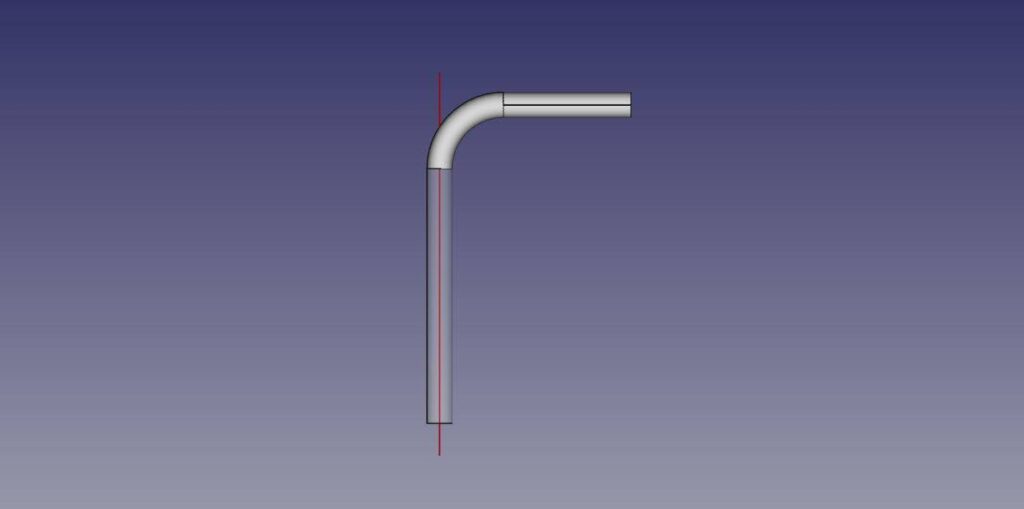
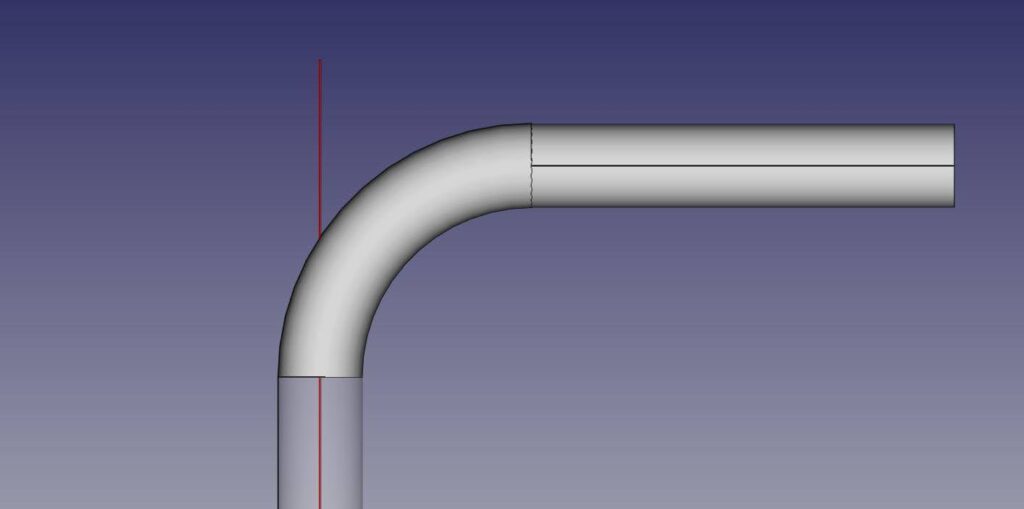
When measuring the shape of a tube, one can think of uncertainty as a zone around the centerline of the tube, shown by the larger red cylinder. The actual centerline will exist somewhere within that uncertainty zone but it’s exact position can only be determined to the level of uncertainty.
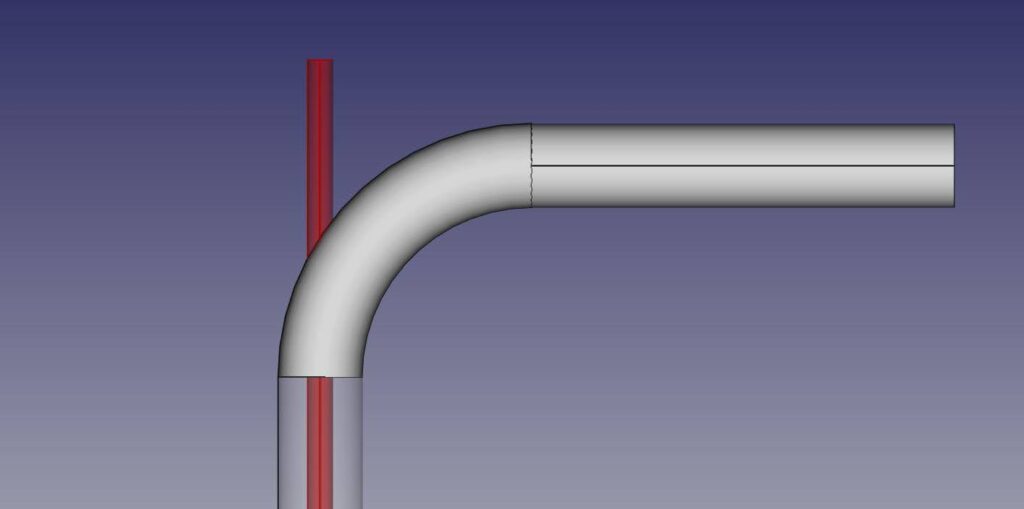
When performing an inspection of a tube, we are usually evaluating the centerline of the tube and sometimes the Bending Points (XYZ intersection points.) When looking at Bending Points, for example, the location of the calculated bending point will be within the intersection of the uncertainty zone for two adjacent straight sections.
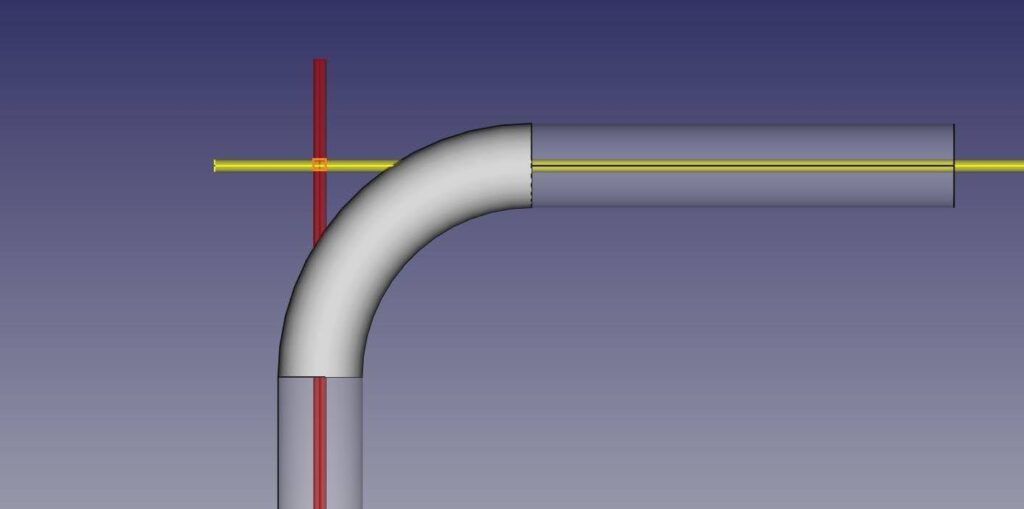
Using the intersection point (Bending Point) example, the uncertainty for each Bending Point depends on the uncertainty of the measurement process. Larger uncertainty about the tube shep means the Bending Point exists within the intersection of two larger cylinders = less confidence in the XYZ point location.
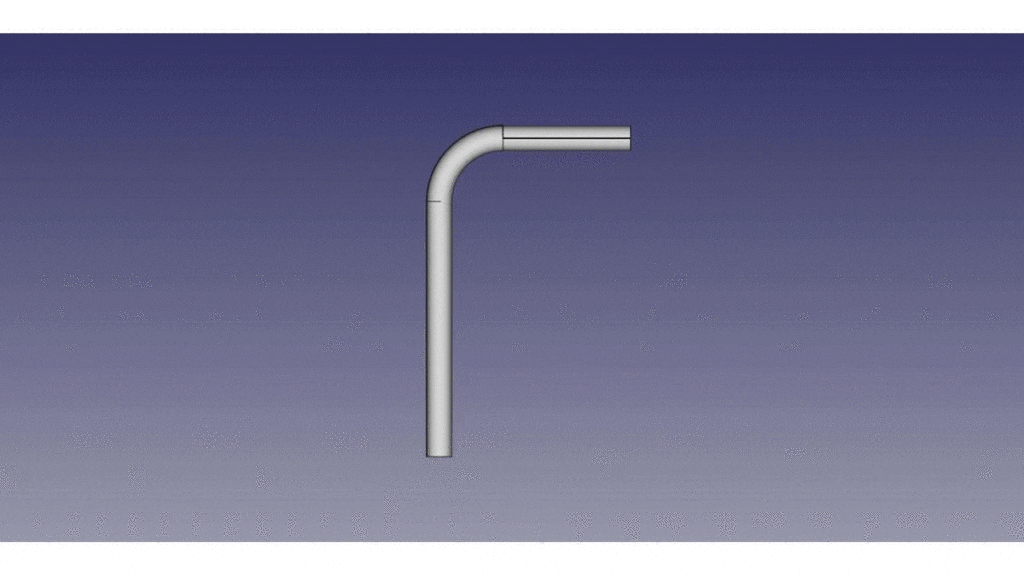
The TubeInspect optical tube gauge has very low measurement uncertainty. This is due to A) the way that it inspects the tube using high-resolution images and a complete data set all along the tube, and B) the operator has nearly zero effect on the measurement. When inspecting the tube centerline, intersection points, etc., with TubeInspect, the uncertainty zone is smaller than that of other methods.
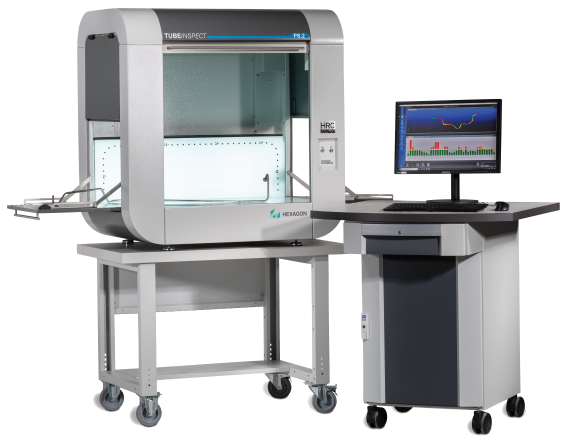
Even though every measurement process has some level of measurement uncertainty, the TubeInspect system is the fastest, easiest, AND most reliable means of inspecting tubes. Therefore, users can have high confidence in the measurement results and can make better production, quality, and business decisions based on the results.
