Accurex receives many questions about the best method to evaluate tube conformance. We also get questions comparing different types of inspection criteria. We often respond with a clarifying question: “Why are you measuring the part?” Or, to put it another way, “What question about the part are you trying to answer by measuring it?
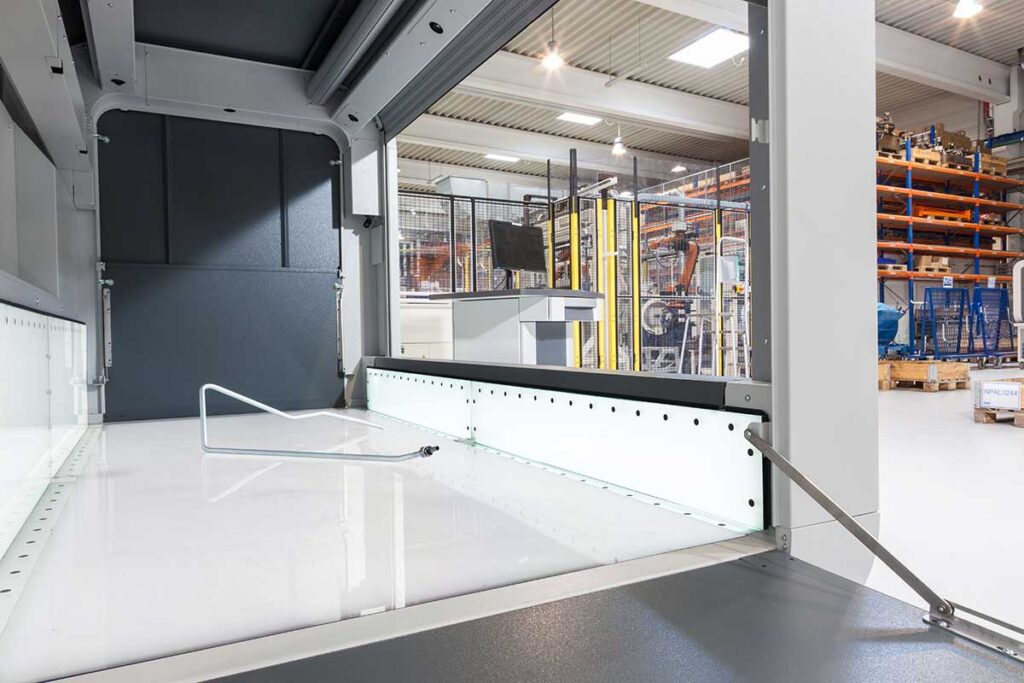
The most common questions that one hopes to answer by measuring bent tubes are: 1) “How does the tube produced by my bender compare with the shape I am trying to achieve?” and 2) “Will the tube fit when installed/assembled for its intended use?”
When the reason for measuring a tube is something close to A or B above, the application experts of both Accurex Measurement and Hexagon in Germany (developers of BendingStudio) agree that the best approach for answering those questions is a BendingStudio inspection plan using Sheath Tolerance (aka Sheath deviation) criteria.
Sheath Tolerance (aka Sheath Deviation) Inspection
When a tube is measured in BendingStudio software using data from a TubeInspect system or Absolute Arm laser scanner, the first step is to create an accurate 3D cylinder model of the part. This is done using photogrammetry for TubeInspect and 3D point cloud data for the Absolute Arm scanner. This 3D model is based on thousands of data points all along the tube, including straights AND bends from one end of the tube to the other. This accurate cylinder model of the true shape is created before considering Bending Elements (Length-Rotation-Angle) or Bending Points (XYZ intersection points.)
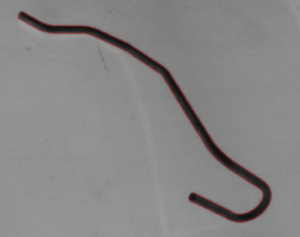
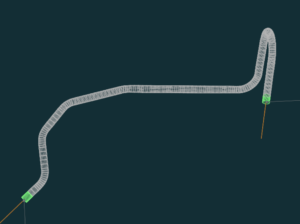
The 3D model is searched to detect and match bending points, and then the final centerline is calculated, and the straights, bends, rotations, tangent points, and bending points are all calculated. This full-length centerline is then aligned to the nominal data using the manner prescribed by the inspection plan (best fit, 3-2-1, etc.) After determining the actual tube shape and alignment of the actual and nominal centerlines, the specified inspection criteria are evaluated.

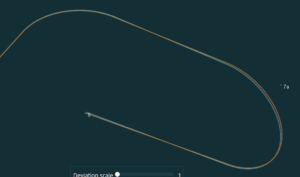
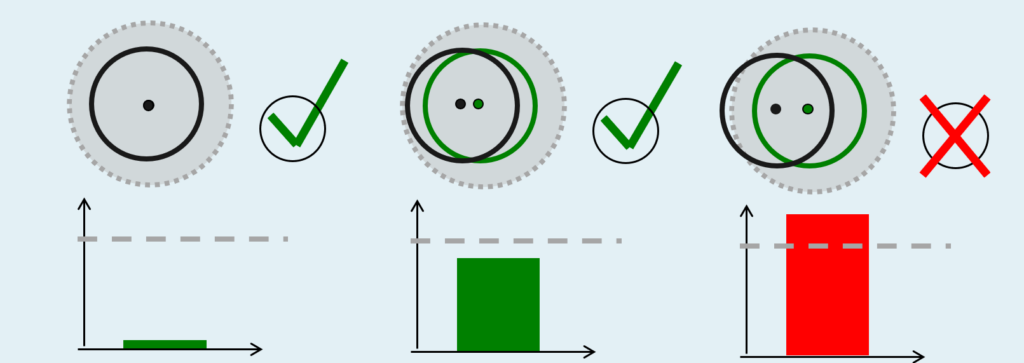
For an inspection using Sheath Tolerance as inspection criteria, the difference between the actual and nominal centerlines are calculated and reported at intervals along the centerline. Deviation is commonly reported at each tangent point location, but different spacing can be specified. The bars and numerical results of the sheath deviation show the actual distance between the nominal and real centerlines measured perpendicular to the centerline.
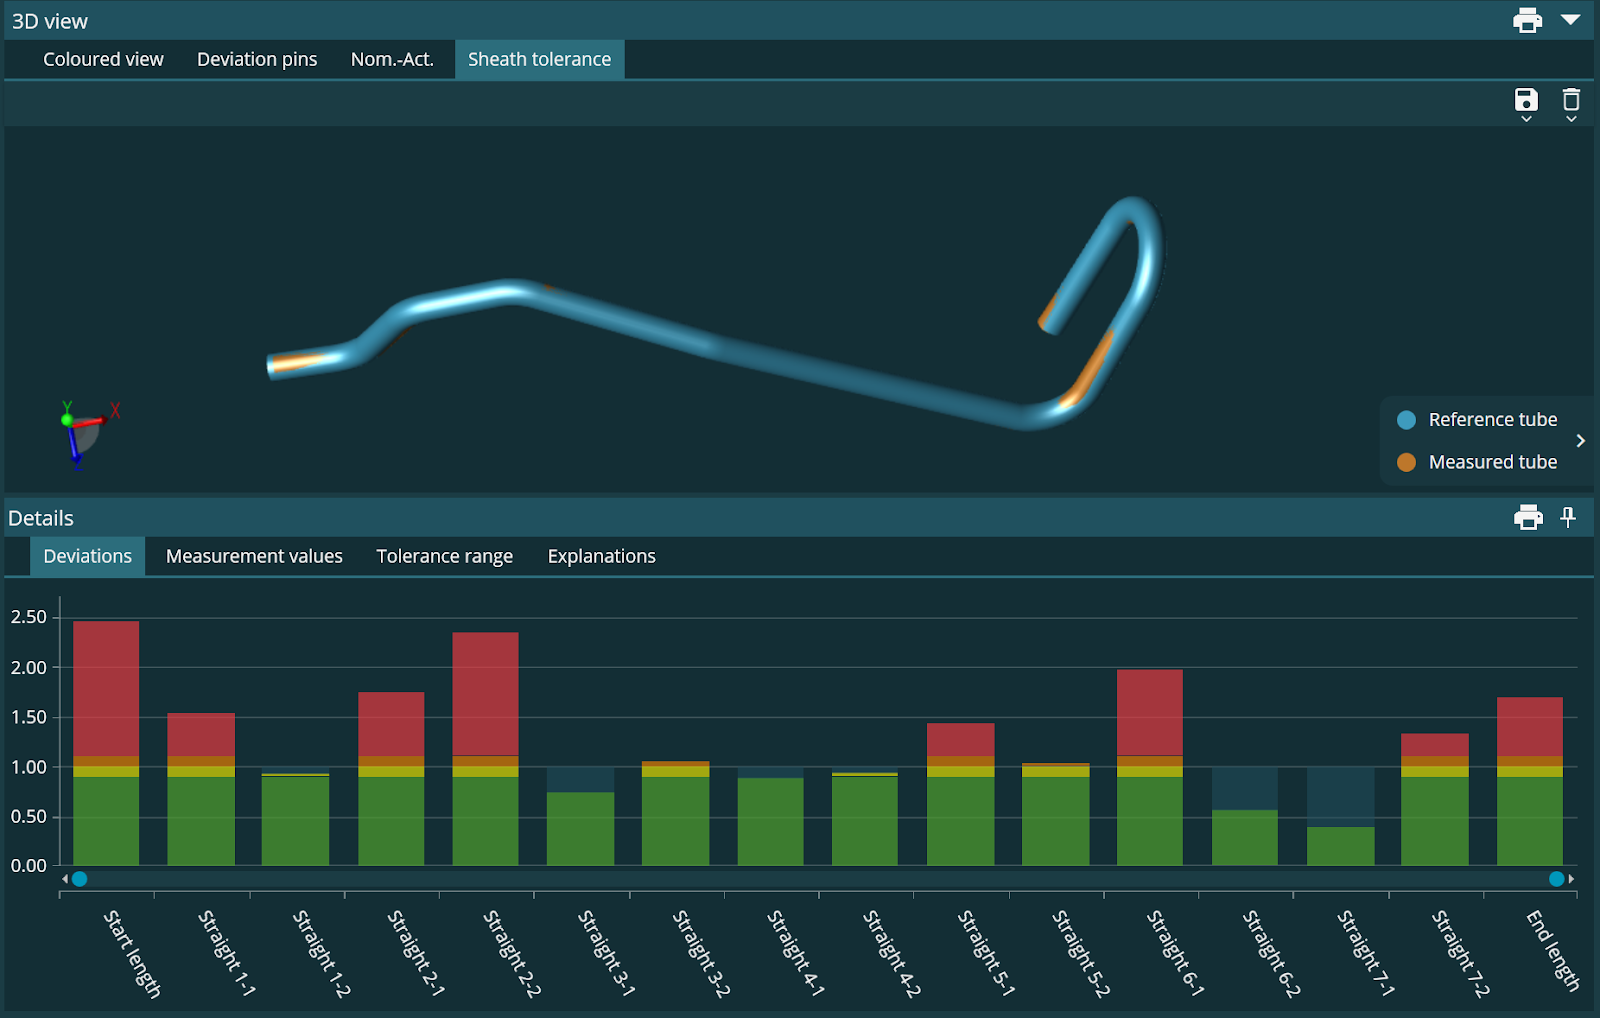
A sheath tolerance inspection is the digital equivalent of a physical gauge or checking fixture. The sheath tolerance can be thought of as a centerline profile tolerance. An envelope is applied around the centerline with a radius equivalent to the specified tolerance. If the distance between the centerlines at the specified locations is within tolerance, the chart displays a green bar (or yellow if the intervention limit is active). If the distance exceeds the limit, the bar shows red for out of tolerance (or orange if the concession limit is active.)
Sheath tolerance inspection is a simple and very effective means to assess how well the actual tube shape matches the intended, nominal shape. Unlike LRA or intersection points, some of which are purely theoretical points, the centerline is a real characteristic of the tube. Therefore, deviations between actual and nominal along the centerlines are helpful to determine whether the tube is truly within spec.
The LRA values are undoubtedly important. When sheath tolerance inspection shows that a bent tube or wire is out of tolerance and needs correction, BendingStudio calculates precisely what changes to the LRA parameters on the CNC bender are necessary to produce tubes within tolerance. Those corrections can even be communicated directly back to most CNC benders.
BendingStudio provides the capability to set up many different inspection criteria, and all have their benefits and uses. When it comes to assessing the conformance of the base tube shape after bending, Sheath Tolerance inspection is the best inspection criterion to determine whether or not a tube needs corrections.

