TUBEINSPECT Overview
Tube Bending Measurement
Supercharge your tube and wire bending operation with optical measurement technologies. Measure bent tubes in seconds and boost manufacturing productivity.
Watch Video
TUBEINSPECT Has Been Designed For Fast, Easy & Accurate Tube Inspection
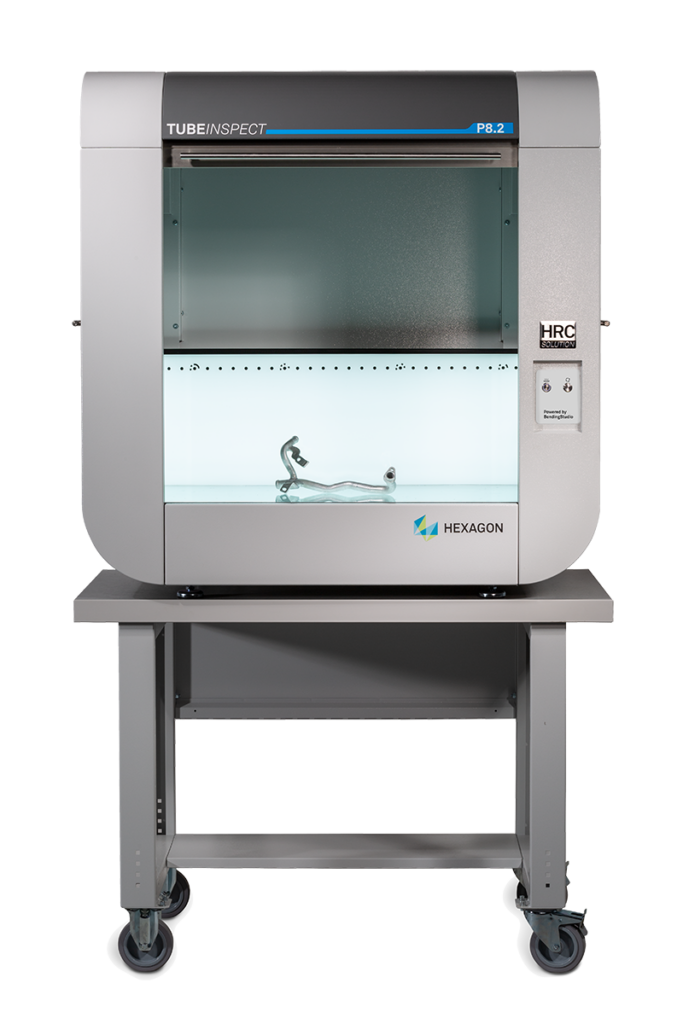
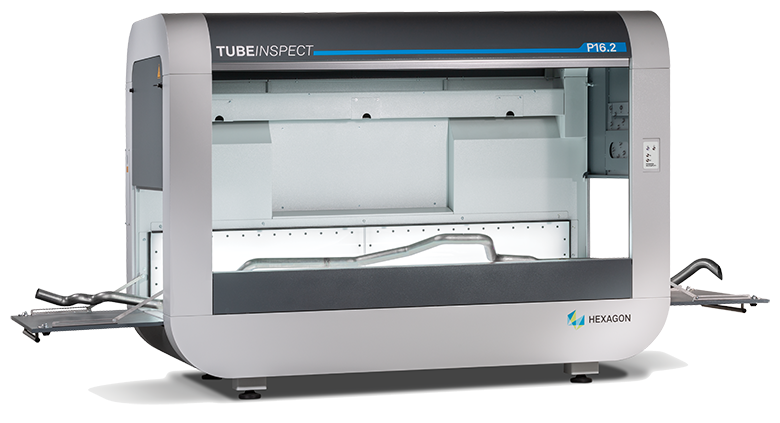
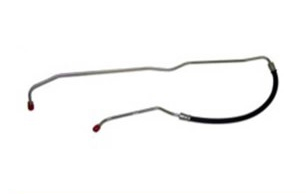
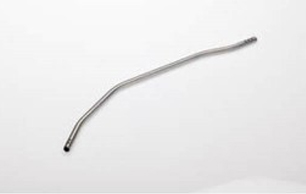
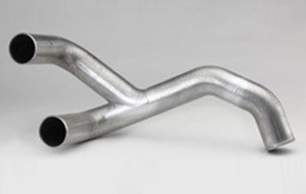
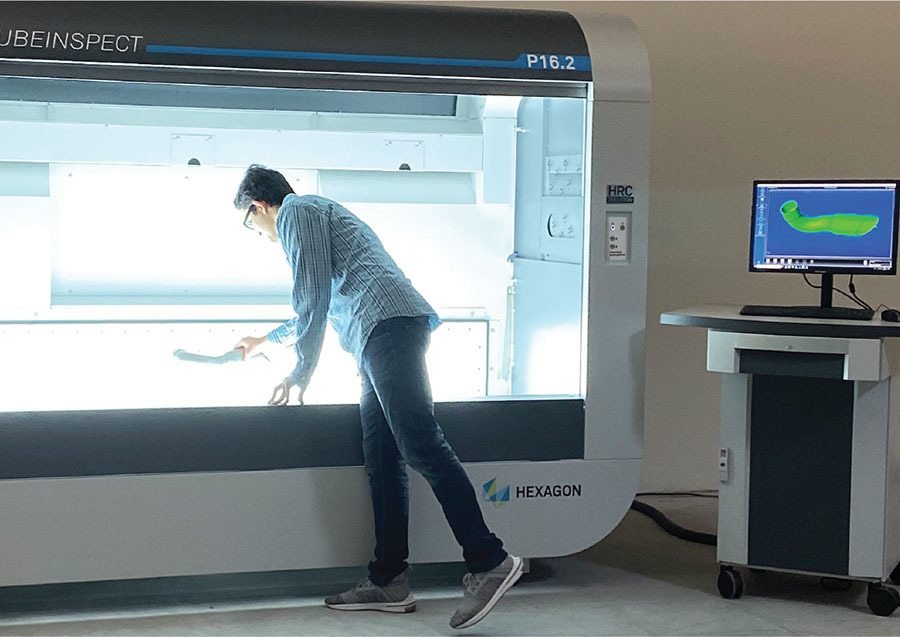
TUBEINSPECT has been designed for the fast, automated inspection of bent tubing, brake lines, hydraulic lines, exhaust pipes, molded tubes and wireforms. Using this system, no fixtures or holding devices are required and data is provided in seconds. Tubes and wireforms can be compared directly to CAD models or to a master part with direct feedback to tube bending machines when correction is needed.
Instantly Verify Part Dimensions
Automatically Correct Bender Parameters
If tube measurement indicates that adjustments need to be made to the tube bending process, corrections are directly transmitted to the CNC bending machine via the network.
Faster Bender
Setups
Slash first piece setup times for CNC benders. Measure the first piece in seconds and send corrections directly back to benders. Change from one part to the next in minutes to boost productivity for every bender!
Industry-standard solution for leading tube & wire manufacturers
TUBEINSPECT is rapidly replacing conventional measurement systems.
TUBEINSPECT Models
Suitable for
all types of tubes
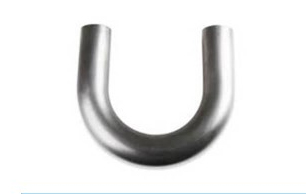
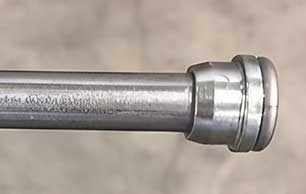
TUBEINSPECT is suitable for all types of industrial tube manufacturing, from highly flexible thin brake lines to large exhaust pipes for heavy trucks. TUBEINSPECT’s unique measuring principle allows the measurement of any tube geometry, and is not affected by surface texture or color.
TubeInspect capabilities continue to advance. It can handle many challenging parts.
Tube Bending Measurement
Tube bending measurement is crucially important for manufacturers of tubular products because the output from tube bending processes often vary based on bending machine setups and tube material properties. Therefore, each setup for a tube on a CNC bender requires checking a tube and making a bit of adjustment to produce tubes that are within tolerance. Periodic checks during batch production are also often required to ensure the process has not drifted.
However, traditional measurement techniques like Coordinate Measuring Machines (CMM) do not fit well for the task – the process is slow and tubes are tricky for alignment and for measurement via touchprobing. Characteristics of formed tubes such as deformation, elongation and flexibility further complicate the measurement task. Even after performing a measurement, the results from traditional measurement are not particularly useful for optimizing tube bending.
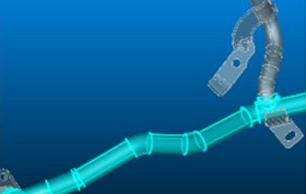
The TubeInspect optical gauge was designed specifically to overcome the unique challenges of tube bending measurement. No special positioning or setup of the part is required – simply place it in the TubeInspect box. The measurement is completely non-contact. By utilizing the principles of photogrammetry, TubeInspect quickly and accurately captures the true, full 3D shape of a formed tube. It works well even for imperfect, real-world tubes with clamp marks or deformation from flexibility.
After capturing actual tube shape, the BendingStudio software of the TubeInspect system instantly inspects the actual tube against the desired nominal shape to determine and graphically illustrate any deviations. Most importantly, TubeInspect goes beyond simply inspecting the part and translates deviations into tube bending corrections that can be communicated to CNC tube benders. This process slashes the time for bender setups while improving the quality of the resulting product.
TubeInspect takes the inherent challenge of tube bending measurement and turns it into a strategic advantage for manufacturers who utilize TubeInspect technology. While their competitors struggle, TubeInspect users see improved productivity, quality and profitability from their tube bending operations.
Why TUBEINSPECT
Simple to Use
Tube gauging and bender setups no longer require experts with decades of experience. Accurex solutions are easy to use with simple workflow so you can focus on production.
Cut Costs
Using TUBEINSPECT for every part will substantially cut your costs related to checking fixtures. More effective bender set-ups reduce scrap costs immediately.
Produce Better Parts
Perform the most accurate measurement in seconds with effective bender corrections to produce near-nominal tube and wire components. Good parts coming off the bender reduce risk of rejects and preserve tolerance for downstream assembly.
Power of BendingStudio with BendXtract
BendingStudio uses a complete scan when measuring your formed tube or wire instead of just a few data points or measuring only the straight sections, as older methods do. Having all of the data along the part gives you the most reliable and accurate measurement results. Perfect your process with all of the information to send the most effective correction to your CNC Benders. Not only does this give you the most powerful results, but it is also the easiest simple solution. It is set up for all types of products, simply place the tube or wire inside and get an automatic extraction.
Expedite Your Process Even More
CAD import tools speeds up your process. This will allow you to Import CAD Models
- Creates BendingStudio Components
- Automatically link Components for inspection

